PVE Automate With Ansible
1 | sudo apt install software-properties-common |
1 | ansible -i ./inventory/hosts ubuntu -m ping --user someuser --ask-pass |
1 | ansible-playbook ./playbooks/apt.yml --user root --ask-pass --ask-become-pass -i ./inventory/hosts |
Instructions
Choose your Ubuntu Cloud Image
Download Ubuntu (replace with the url of the one you chose from above)
1 | wget <https://cloud-images.ubuntu.com/focal/current/focal-server-cloudimg-amd64.img> |
Create a new virtual machine
1 | qm create 8000 --memory 2048 --core 2 --name ubuntu-cloud --net0 virtio,bridge=vmbr0 |
Import the downloaded Ubuntu disk to local-lvm storage
1 | qm importdisk 8000 focal-server-cloudimg-amd64.img local-lvm |
Attach the new disk to the vm as a scsi drive on the scsi controller
1 | qm set 8000 --scsihw virtio-scsi-pci --scsi0 local-lvm:vm-8000-disk-0 |
Add cloud init drive
1 | qm set 8000 --ide2 local-lvm:cloudinit |
Make the cloud init drive bootable and restrict BIOS to boot from disk only
1 | qm set 8000 --boot c --bootdisk scsi0 |
Add serial console
1 | qm set 8000 --serial0 socket --vga serial0 |
DO NOT START YOUR VM
Now, configure hardware and cloud init, then create a template and clone. If you want to expand your hard drive you can on this base image before creating a template or after you clone a new machine. I prefer to expand the hard drive after I clone a new machine based on need.
Create template.
Clone template.
1 | qm clone 8000 135 --name yoshi --full |
Troubleshooting
If you need to reset your machine-id
1 | sudo rm -f /etc/machine-id |
Then shut it down and do not boot it up. A new id will be generated the next time it boots. If it does not you can run:
1 | sudo systemd-machine-id-setup |
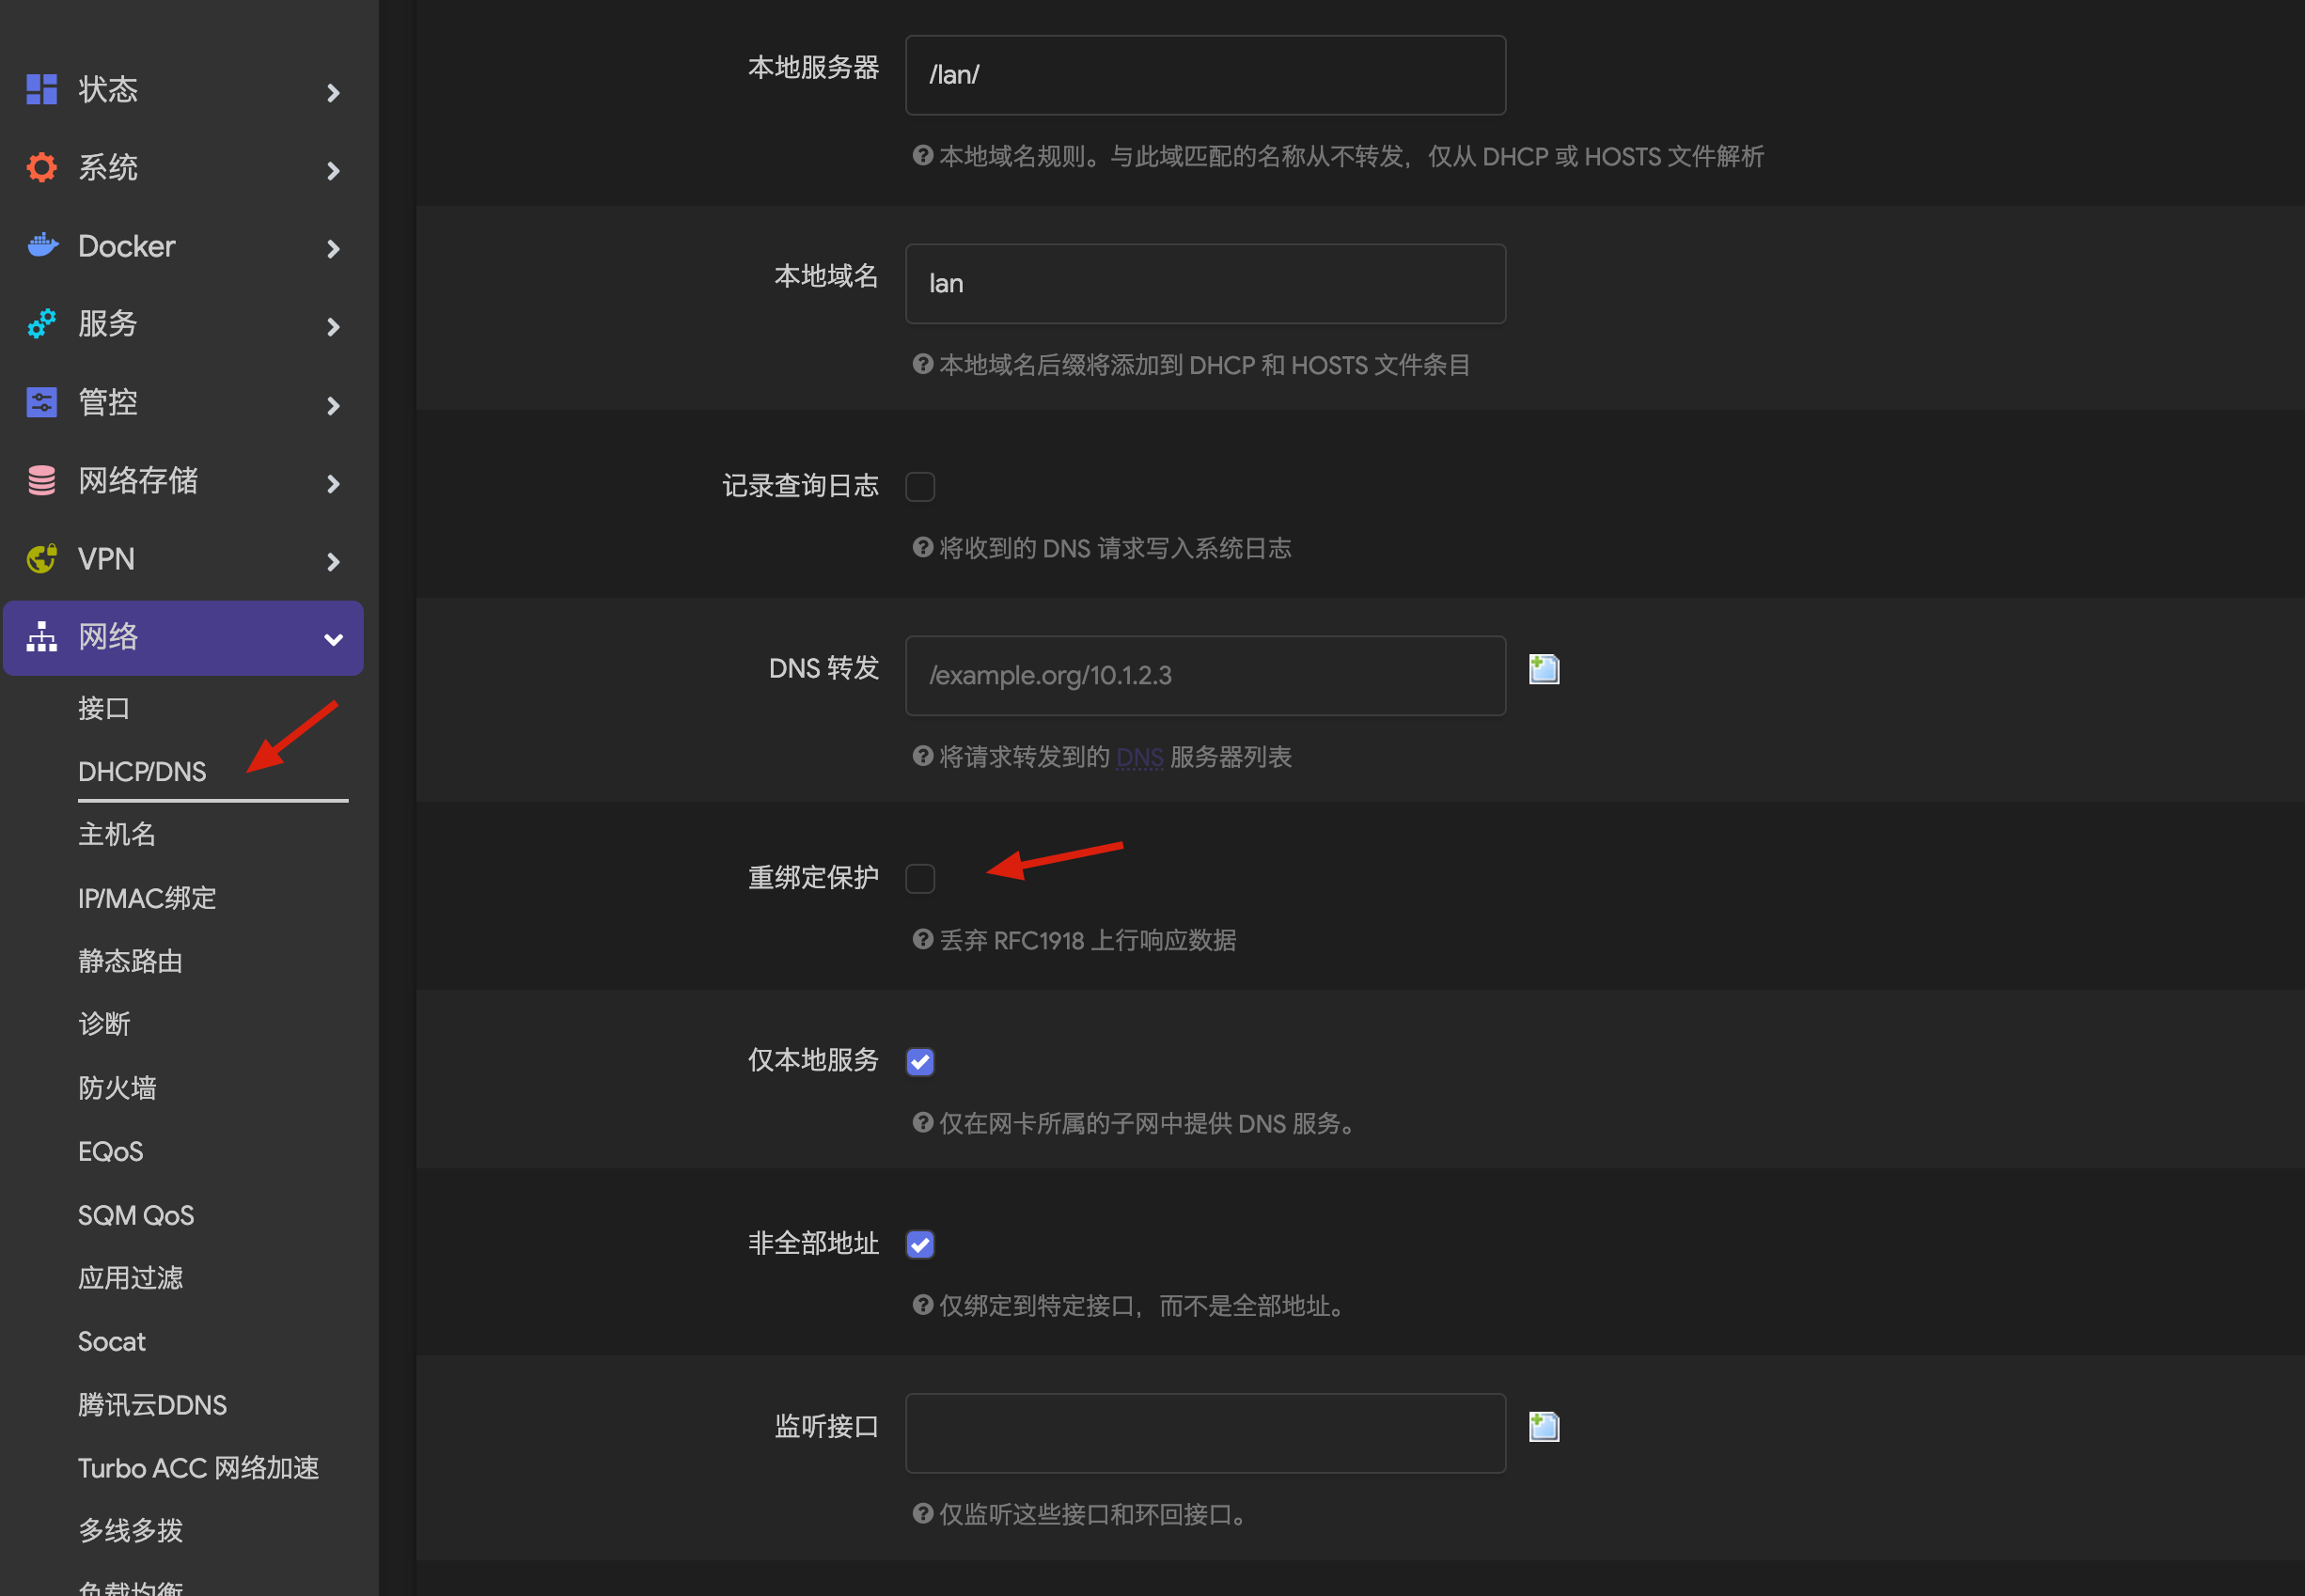
OpenWrt 重定向保护
本文由 简悦 SimpRead 转码, 原文地址 docs.technotim.live
Documentation for Techno Tim YouTube videos for all your copy pasta needs!
Today, we’re going to use SSL for everything. No more self-sign certs. No more http. No more hosting things on odd ports. We’re going all in with SSL for our internal services and our external services too. We going to set up a reverse proxy using Traefik, Portainer, and use that to get wildcard certificates from Let’s Encrypt. Join me and let’s secure all the things.
See all the hardware I recommend at https://l.technotim.live/gear
Don’t forget to check out the 🚀Launchpad repo with all of the quick start source files.
Docker Setup
See this post on how to install docker and docker-compose
Traefik
1 | mkdir traefik |
traefik.yml can be found here
create docker network
1 | docker network create proxy |
1 | touch docker-compose.yml |
docker-compose.yml can be found here
1 | cd data |
Portainer
1 | mkdir portainer |
docker-compose.yml can be found here
Generate Basic Auth Password
1 | sudo apt update |
1 | echo $(htpasswd -nb "<USER>" "<PASSWORD>") | sed -e s/\\\\$/\\\\$\\\\$/g |
NOTE: Replace <USER> with your username and <PASSWORD> with your password to be hashed.
Paste the output in your docker-compose.yml in line (traefik.http.middlewares.traefik-auth.basicauth.users=<USER>:<HASHED-PASSWORD>)
Spin up the container
Traefik Routes Config
1 | cd traefik/data |
config.yml here
1 | docker-compose up -d --force-recreate |
Your folder structure should look like the below, if you are following along with the example. But feel free to make it however you wish just keep in mind you’ll need to change the location in the corresponding files.
1 | ./traefik |
 微信
微信 支付宝
支付宝