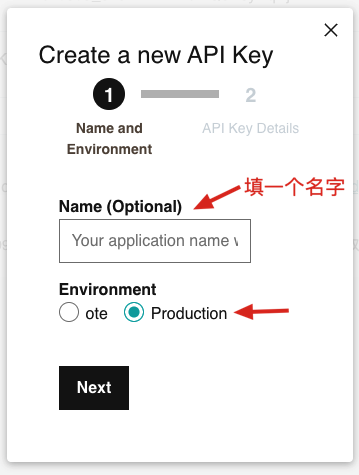
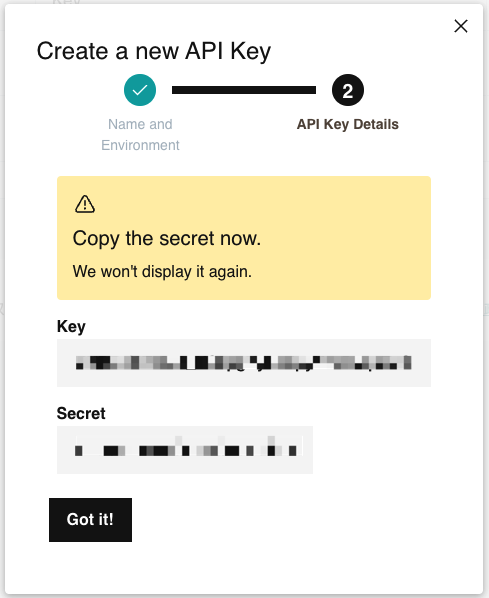
# This script is used to check and update your GoDaddy DNS server to the IP address of your current internet connection. # Special thanks to mfox for his ps script # https://github.com/markafox/GoDaddy_Powershell_DDNS # # First go to GoDaddy developer site to create a developer account and get your key and secret # # https://developer.godaddy.com/getstarted # Be aware that there are 2 types of key and secret - one for the test server and one for the production server # Get a key and secret for the production server # #Update the first 4 variables with your information
domain="xxx.com"# 你的根域名 name="xxxx"# 域名 A 记录 key="xxxxxxxxxxxxxxxxxxxxxxxxxx"# API-Key secret="xxxxxxxxxxxxxxxxxxxxxxx"# API-Secret
# Main headers="Authorization: sso-key $key:$secret" result=$(curl -s -X GET -H "$headers" \ "https://api.godaddy.com/v1/domains/$domain/records/A/$name") echo"result:"$result # 当前DSN IP dnsIp=$(echo$result | grep -oE "\b([0-9]{1,3}\.){3}[0-9]{1,3}\b") echo"dnsIp:"$dnsIp
# https://ipinfo.io/json if [ ! -n "$currentIp" ]; then ret=$(curl -s GET "https://ipinfo.io/json") ret=$(echo$ret | grep -oE "\"\b([0-9]{1,3}\.){3}[0-9]{1,3}\b\"") currentIp=$(echo$ret | grep -oE "\b([0-9]{1,3}\.){3}[0-9]{1,3}\b") echo"https://ipinfo.io/json currentIp:"$currentIp
# http://ip.42.pl/raw if [ ! -n "$currentIp" ]; then currentIp=$(curl -s GET "http://ip.42.pl/raw") echo"http://ip.42.pl/raw currentIp:"$currentIp fi fi
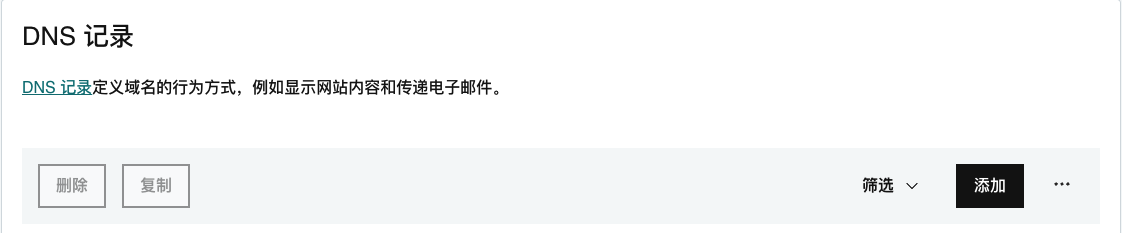
# 如果不一致进行更新 if [ "$dnsIp" != "$currentIp" ]; then request='[{"data":"'$currentIp'","service":"'$domain'","ttl":600}]' echo$request nresult=$(curl -i -s -X PUT \ -H "$headers" \ -H "Content-Type: application/json" \ -d $request"https://api.godaddy.com/v1/domains/$domain/records/A/$name") echo$nresult fi


 微信
微信 支付宝
支付宝